 ColonyCat
Getting started
Welcome. This first chapter walks you through the very first time you visit ColonyCat, from finding the site to seeing your dashboard for the first time. It takes about three minutes, and you don't need to install anything.
If you already have an organization set up and someone invited you, skip ahead to Chapter 2: Joining a group that already exists. This chapter is for when you're starting fresh.
ColonyCat is in public beta. It's free to use while we're in beta, and you can export or delete everything anytime. We're actively building, so if you spot something off or want a feature, we'd love to hear it at beta@colonycat.org.
What you're about to do
- Open colonycat.org in any browser, on a computer or phone.
- Fill in a short signup form. Your name, your email, the name of your rescue, and a short web address.
- Check your email and sign in (a link or a 6-digit code).
- Set up your organization's profile.
- Look around your new dashboard.
That's it. No password, no credit card. The free plan covers you and one teammate, and you can stay there as long as you like.
Step 1: Find the site
Open your browser and type colonycat.org in the address bar. You'll land on a page that looks like this:
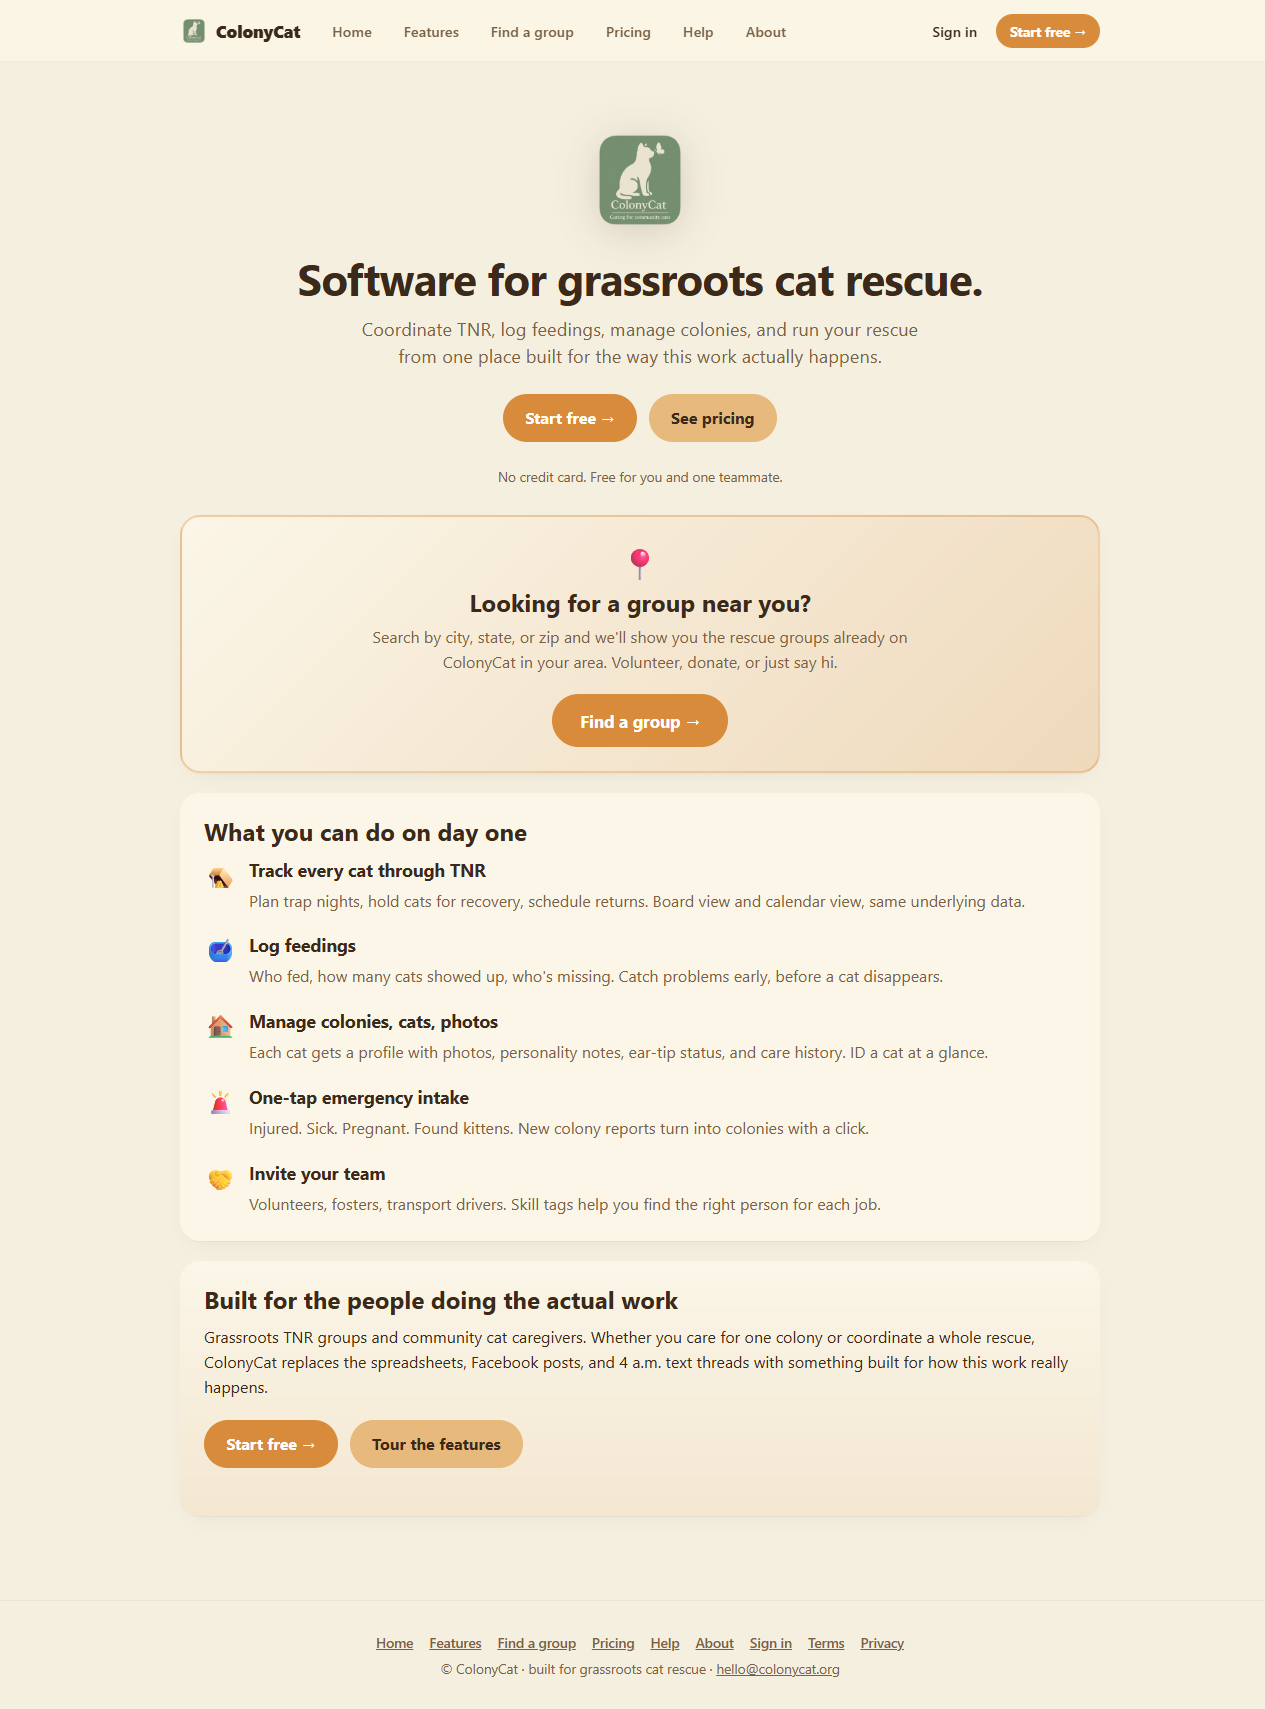 On your phone the same page stacks into one column. Everything is finger-friendly.
A note on availability. ColonyCat is US-only for now. If you're signing up from outside the US, you'll see a friendly note letting you know. Drop us a line at hello@colonycat.org and we'll let you know when we expand to your region.
Look for the orange Start free button near the top right (or in the middle of the page). Tap it.
Step 2: Tell us about your rescue
You'll see a short form titled Start your rescue on ColonyCat.
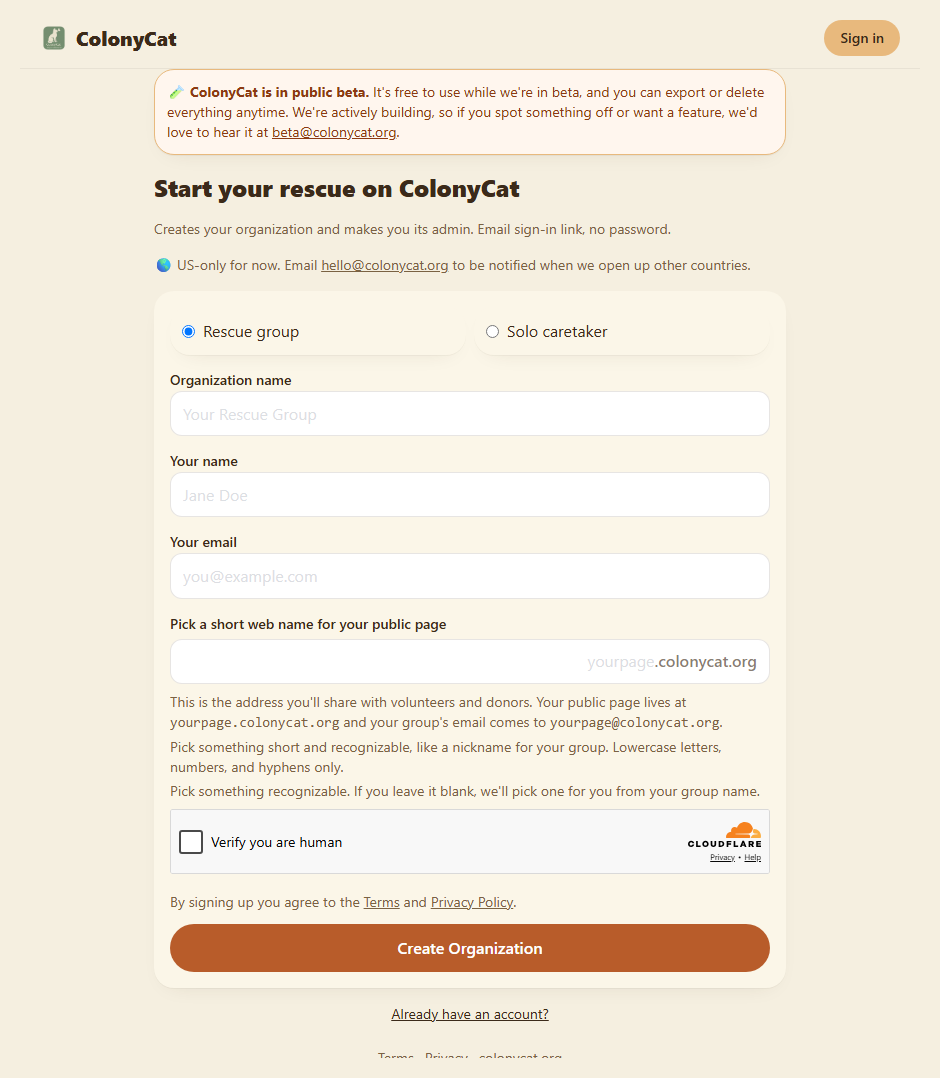
First, pick whether you're a Rescue group (more than one person involved) or a Solo caretaker (just you and your cats). This is just so we set sensible defaults, you can change it later. If you pick Solo, the organization name is optional (we'll use your own name).
Then fill in four things. Take your time, none of this is set in stone, you can change everything later.
Your name. Whatever you want people in your rescue to call you. First name is fine.
Your email. Use an address you actually check. Sign-in emails come here, plus the occasional important notice. We don't share it, sell it, or send marketing.
Organization name. What your rescue calls itself. Maple Hollow Cats, Lakeside TNR, Mrs. Patel's Porch Crew, anything goes. This is the name your volunteers and the public will see. (Optional if you picked Solo above.)
Pick a short web name for your group. A short word or two with no spaces, lowercase letters, numbers, and hyphens only. As you type, you'll see it check whether it's free. This one name does double duty: it's the web address for your public page (like maple-hollow-cats.colonycat.org) and the email address people can use to write to you (maple-hollow-cats@colonycat.org). Pick something recognizable; leave it blank and we'll make one from your group name.
Here's the form filled in for an imaginary rescue called Maple Hollow Cats:
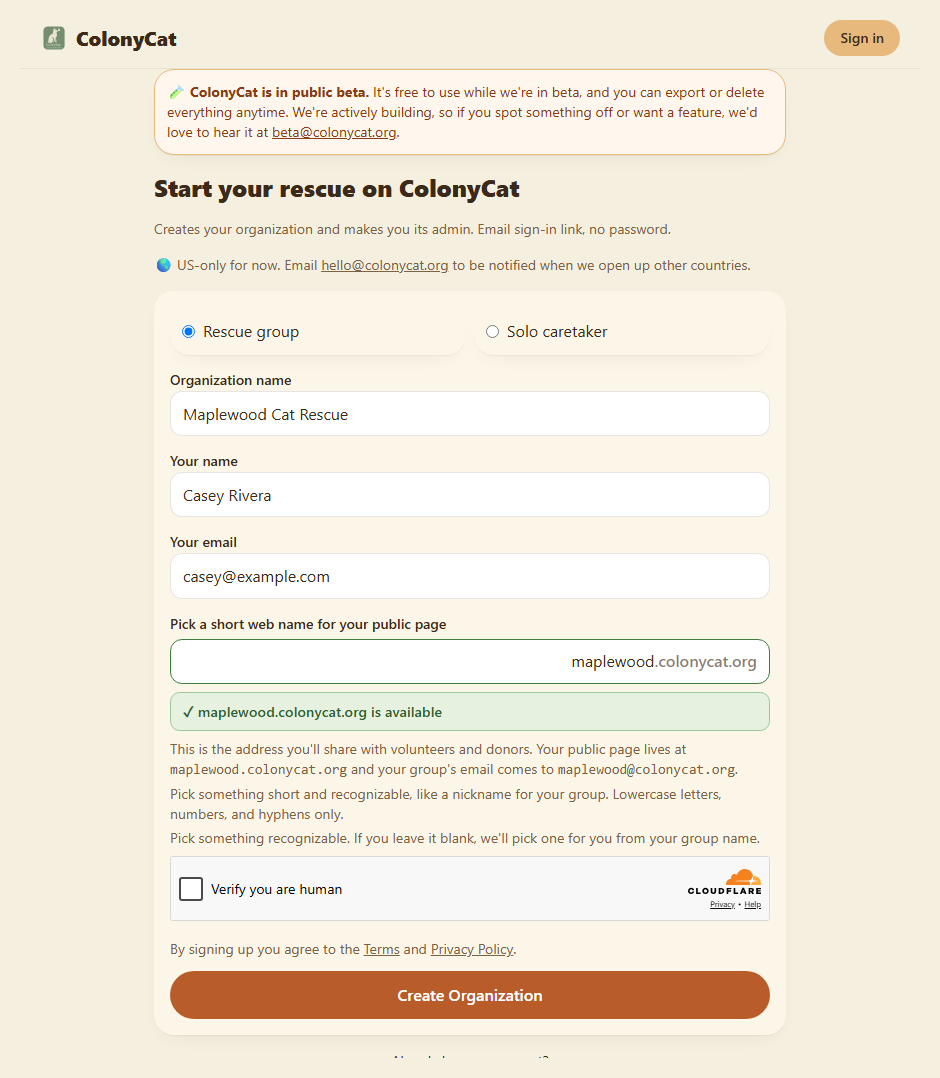
When everything looks right, click the big orange Create Organization button.
A little box that says "Verifying..." before the button is Cloudflare's bot check. You don't need to do anything, it sorts itself out in a couple of seconds. If you ever do see a puzzle, just complete it.
Step 3: Check your email
You'll see a tidy confirmation message:
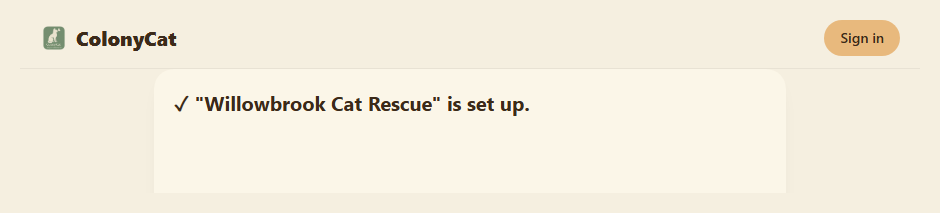
That's the system telling you the organization is created and two emails are on their way: a welcome email with your group's info, and a sign-in email. Pop open your email, both messages are from ColonyCat <hello@colonycat.org>.
Don't see them? Check your spam or junk folder. The very first emails from any new service often land there. If you mark them as "not spam," future messages will arrive in your inbox.
You can use either email to sign in. Pick whichever is handier:
- On the same device (you signed up and opened the email on the same phone or computer): just click the sign-in link in the sign-in email. You're in.
- On a different device (you signed up on a laptop but the email's on your phone, or you're in the ColonyCat home-screen app): the sign-in email includes a big 6-digit code. Go to the sign-in page, open "I have a code", and type those six digits.
Either way works once and expires after thirty minutes, so if you wait until tomorrow, ask for a fresh one from the sign-in page.
Step 4: Set up your profile
The first time you sign in, ColonyCat asks you to set up your organization's profile before anything else. You'll see a friendly Welcome screen with a short form:
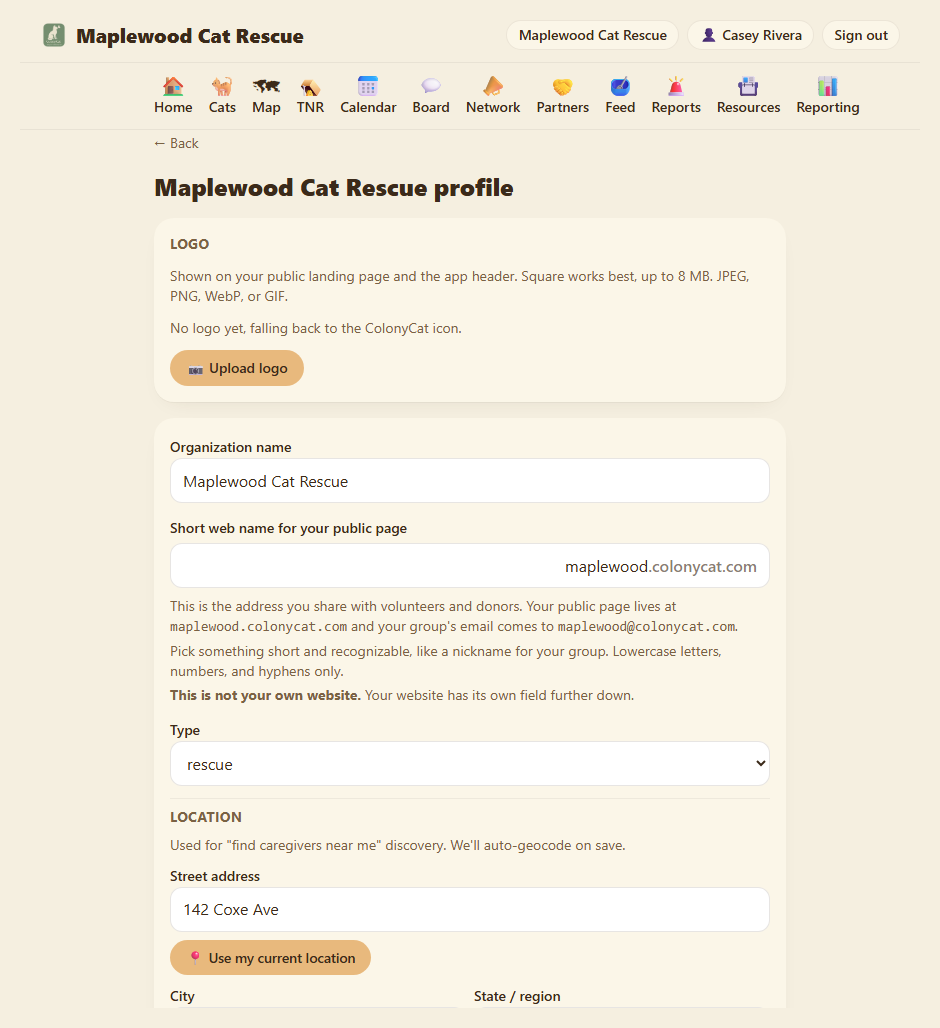
This is the foundation of your public page (Chapter 8 covers it in full), so a little here goes a long way:
- Logo. A square image works best. Skip it for now if you don't have one handy.
- The city you work in. Used for the "find a rescue near me" directory. You can tap 📍 Use my current location to fill the address in automatically.
- A tagline and a short "about us." A sentence or two so volunteers and donors know who you are.
None of it is required to move on, and you can change everything later, including the web address. When you click Save at the bottom, you're taken to your dashboard.
Step 5: Hello, dashboard
After you save your profile, you land on your dashboard. Here's one with a few colonies already added, so you can see the shape of it:
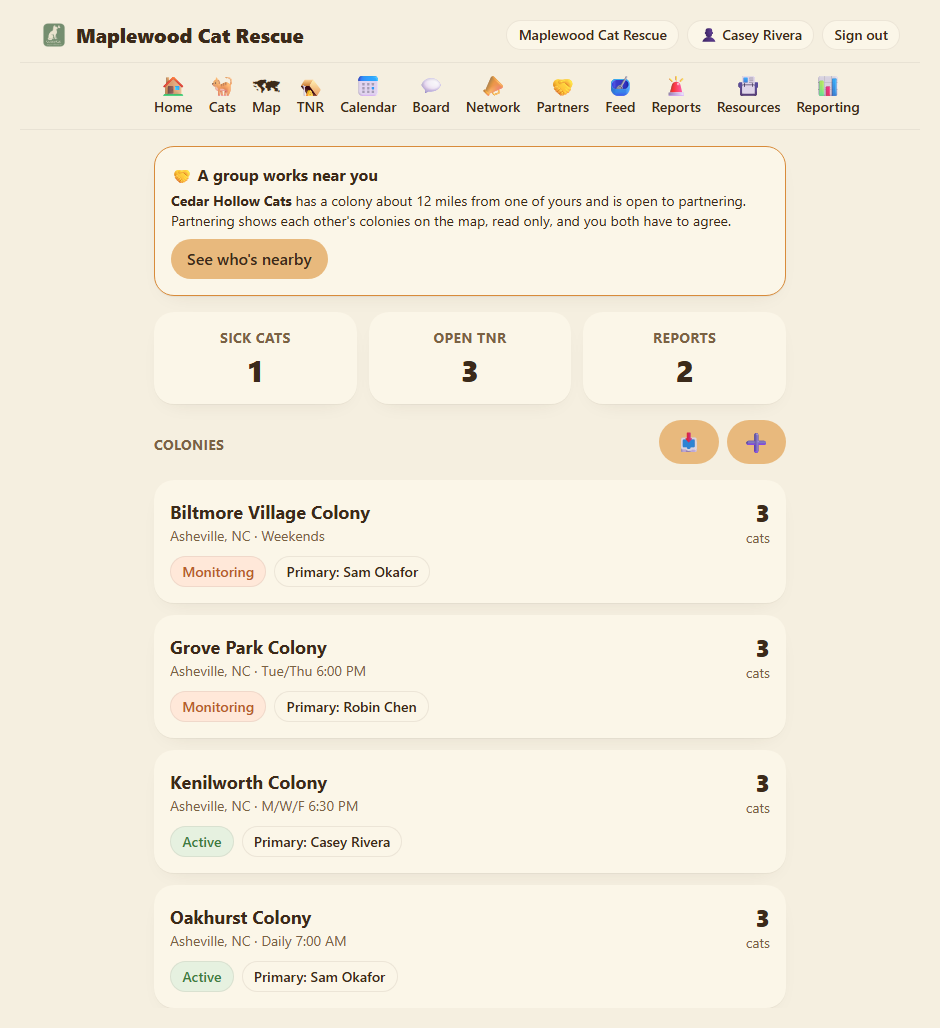
This is home. Across the top you see your rescue's name (top left) and your own name with a menu. On a phone, a row of five icons sits along the bottom of the screen: Home, Board, TNR, Feed, Reports. These are your most-used areas. The ☰ menu at the top left has everything else. On a wide screen, the full navigation runs across the top with 12 items: Home, Cats, Map, TNR, Calendar, Board, Network, Partners, Feed, Reports, Resources, and Reporting (Reporting shows only if your plan includes it). These are the rooms in your house; we'll visit each one in the chapters ahead.
Three cards across the top track Sick cats, Open TNR, and Reports, tap any number to jump straight to that list. Below them sits your Colonies. A brand-new account starts empty here, with a friendly Add your first one link; the ➕ button does the same job once you have a few.
Adding your first colony is your next step, and where the next chapter begins.
Where you are now
- You have an organization on ColonyCat, with its profile started.
- You are signed in as its administrator.
- You're on the free plan: room for two people total (you plus one more), no payment info needed.
- No colonies or cats yet. That's fine, they come next.
In the next chapter we'll add your first colony, drop a pin on the map, and meet the first cat.
A few sanity-savers
- You can log in from any device. Phone, laptop, library computer. Each time, a fresh 6-digit code comes to your email. You can also set up a passkey later (Chapter 10) so your phone or fingerprint signs you in instantly.
- Sign-in codes are single-use. If a code doesn't work (because it expired, or you already used it), just request a new one. The site won't lock you out.
- One email, many groups. If you ever start a second rescue or join someone else's, the same email works for all of them. A little switcher at the top right lets you hop between them.
- Nothing is public yet. Until you flip a switch in your settings (Chapter 8), your rescue's public page just shows a friendly "request access" form. Your cat list, colony data, and member list stay private to you.
→ Next: Chapter 2: Setting up your first colony